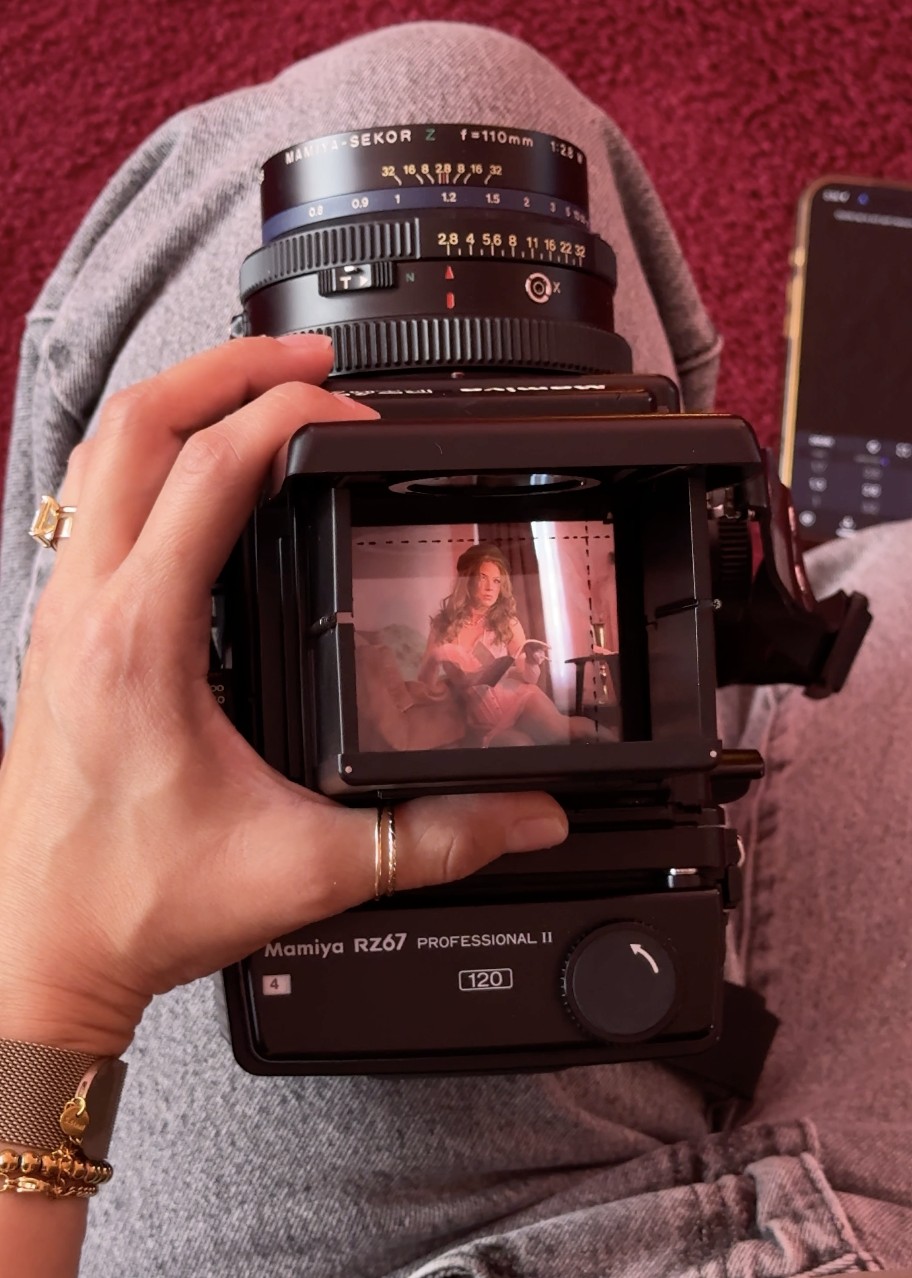
Learning the Mamiya RZ67 Pro II: A No-Stress Studio Experiment
⟵ go back
DREAMY HUES IN FULL MOTLEY * DREAMY HUES IN FULL MOTLEY * DREAMY HUES IN FULL MOTLEY * DREAMY HUES IN FULL MOTLEY * DREAMY HUES IN FULL MOTLEY * DREAMY HUES IN FULL MOTLEY * DREAMY HUES IN FULL MOTLEY * DREAMY HUES IN FULL MOTLEY * DREAMY HUES IN FULL MOTLEY * DREAMY HUES IN FULL MOTLEY * DREAMY HUES IN FULL MOTLEY * DREAMY HUES IN FULL MOTLEY * DREAMY HUES IN FULL MOTLEY * DREAMY HUES IN FULL MOTLEY * DREAMY HUES IN FULL MOTLEY *
I want to begin by stating that, for me, there is nothing more stressful than trying to figure out a new piece of gear right before a photoshoot. I know you’re going to say, “Well, then don’t use new gear at a shoot if you’re not 100% sure how to use it!” Fair enough. But you see, patience is not one of my virtues. As soon as that long-awaited item arrives in the mail, I want to use it—especially if it’s at a studio shoot.
So, that is exactly what happened.
I have been dreaming about the Mamiya RZ67 Pro II for years. Years. I finally got the courage to order one from Japan in hopes that I could master several new skills: studio lighting, a new camera system, exposing with a handheld light meter, experimenting with various 120-format films, and photographing models with a 5-pound camera (2.5 kg) through a waist-level finder.
Sigh.
Yep, a lot to juggle.
After attempting to sync the camera to a Godox trigger and speedlights—and being on the verge of tears due to my failure—I made a deal with myself: I’m going to shoot one roll of film during today’s photoshoot. No pressure. Just have fun. Nice and easy.
I decided to use constant lighting and leave the speedlight syncing for another day. BUT WAIT. My heart sank to my butt when suddenly, I remembered that the Mamiya RZ67 Pro II does not have a built-in light meter in the camera body. To get a light meter designed specifically for the camera, I would have needed to purchase a metered interchangeable prism finder, which generally costs between $130 and $600.
Oops.
However, I was not about to give up. I had to give this camera a try and stop being so nervous about it. What’s the worst that could happen? I asked myself. Sure, film is expensive. I could look like an idiot in front of everyone at the shoot. Or maybe I’d accidentally drop my camera on the floor, it would shatter into a million pieces, and I’d lose both my money and my pride.
So, I ordered a Mamiya strap from Amazon to prevent that last intrusive thought from becoming a reality.
The part you came here for: The Set Up
Camera & Gear
- Mamiya Pro RZ67 Pro II (I recommend Ebay)
- Mamiya-Sekor Z 110mm f2.8 W Lens (the ultimate portrait lens for the Mamiya, in my opinion)
- Kodak Portra 400 120 Format Film
- 1 Newer lightstand
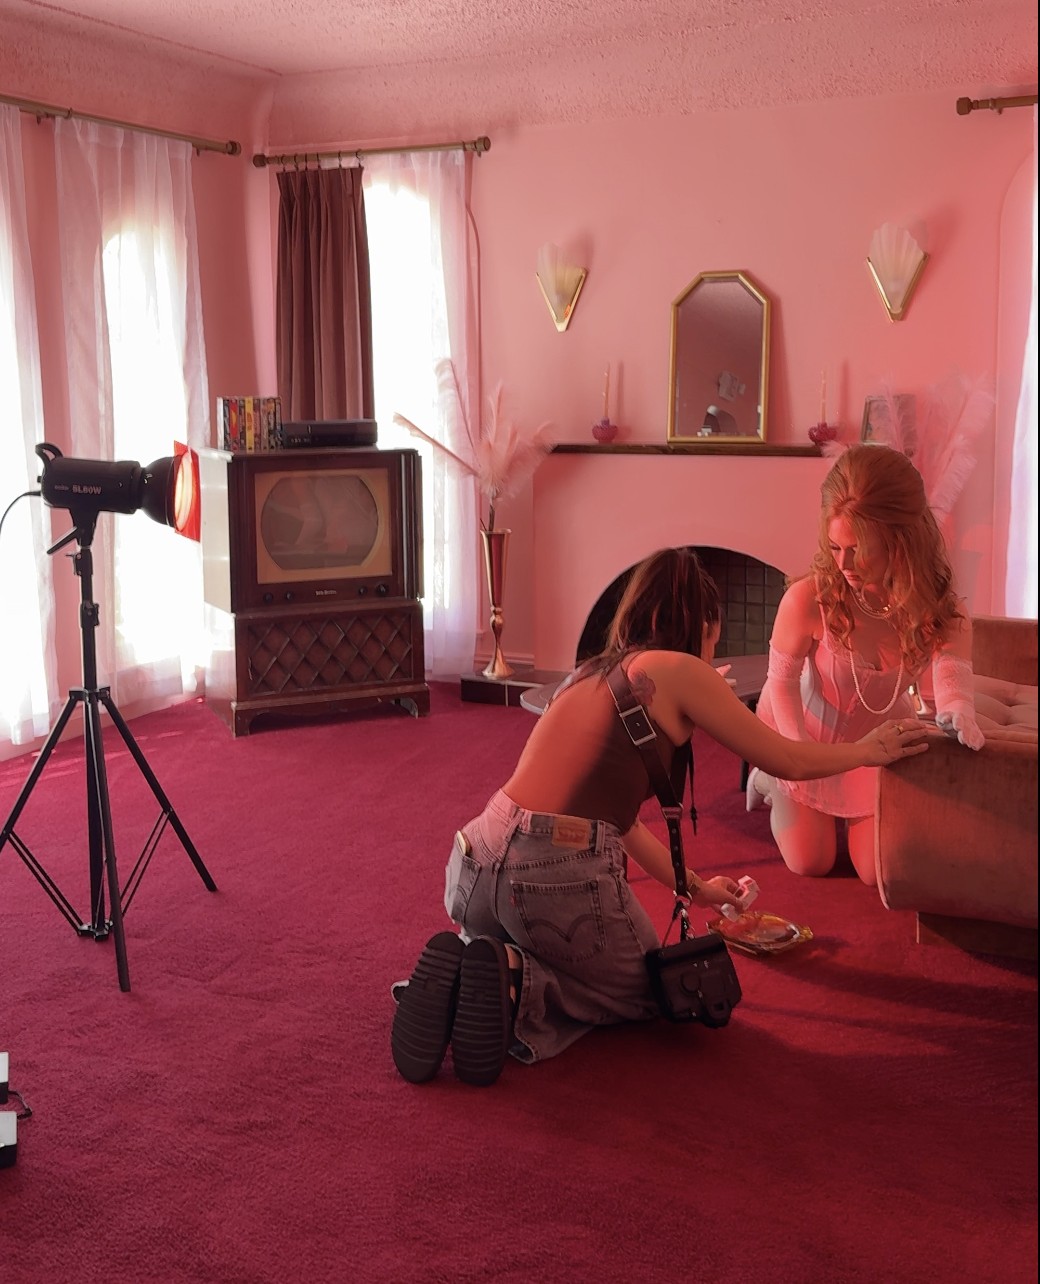
- 1 Godox SL-60W constant light
- 1 Yellow light gel filter
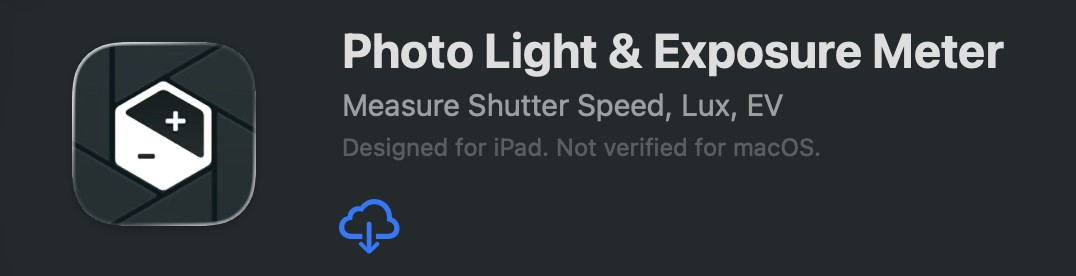
- Photo Light & Exposure Meter app for iPhone
Lighting
To begin, I pointed the constant light fitted with a yellow gel filter toward the model. This was easier than I thought it would be, and using a light stand was key. If you are lucky enough to have a lighting assistant with you, even better. In that case, I would recommend a cordless video light.
I used my Godox SL-60W because I did not want to spend more money on lighting, and I kept reminding myself, “No stress, just fun!”
You could also rent lighting gear from your local camera shop if you find yourself in a pinch.
Camera Setup
With the film ISO set to 400, I kept my aperture at f/2.8 and used the light meter app to determine my shutter speed. I repeated this process every time we moved to a new position or lighting condition.
I was a little paranoid that the app would not be accurate enough, but after receiving the scans, I’m very happy with the results. The app is free, by the way.
Would I Use ISO 800 Film Next Time?
Maybe. If the sun had already gone down or if sunlight wasn’t pouring into the studio.
During this photoshoot, I didn’t need the higher ISO because we reserved the studio around 3:30 p.m. on a sunny Las Vegas summer day. Next time, I would like to schedule the shoot after sunset for a moodier look.
Was I a Nervous Wreck?
Was I shaking in my Doc Martens sandals?
Yes.
But I kept vibing and blamed every tiny delay on the camera. Not my fault, or my shaky hands, or the fact that I’m still learning this heavy body. “Sorry, this camera is old.”
Womp.
The model was so enamored with the look and sound of the camera that she didn’t even notice when I forgot to remove the dark slide before attempting the first exposure. Luckily, the shutter will not fire, or expose the film, if you forget to remove it. Such a great feature!
Frankly, the most nerve-wracking part was focusing. I constantly second-guessed myself while trying to sharpen my view through the waist-level finder. This was especially tricky because the finder presents a mirrored image of the scene. It took some getting used to.
I also recommend booking a studio with plenty of space if you’re using the Mamiya-Sekor Z 110mm f/2.8 W Lens and want to capture wider scenes.
If you’re wondering whether I used other film cameras during this shoot—yes, of course.
Like I said, I was paranoid that the quick YouTube tutorials I watched that morning would not magically translate into even entry-level proficiency.
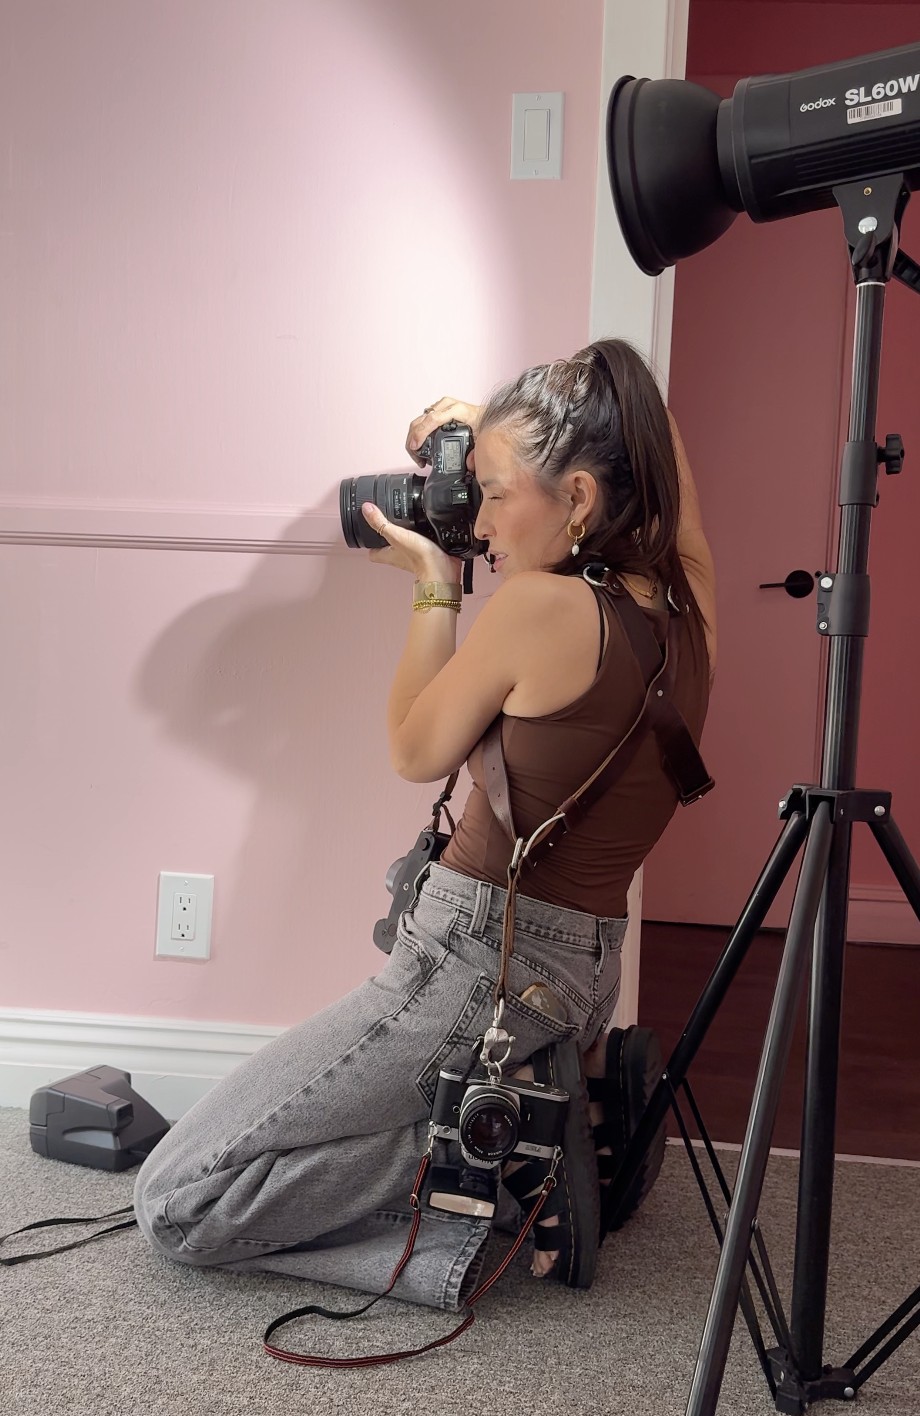
When I get a new film camera, I always want to test it as soon as possible. After shooting a test roll or two, I take my film to Pro-Image West in Las Vegas. Andy, the owner, scans, processes, and digitally delivers my film—usually within a couple of hours!
I strongly recommend this lab.
If you are not in Las Vegas, call around and find a lab near you that offers same-day film processing and scans.
But back to my main point, I got the film back from Andy shortly after dropping it off, and man—what a sigh of relief.
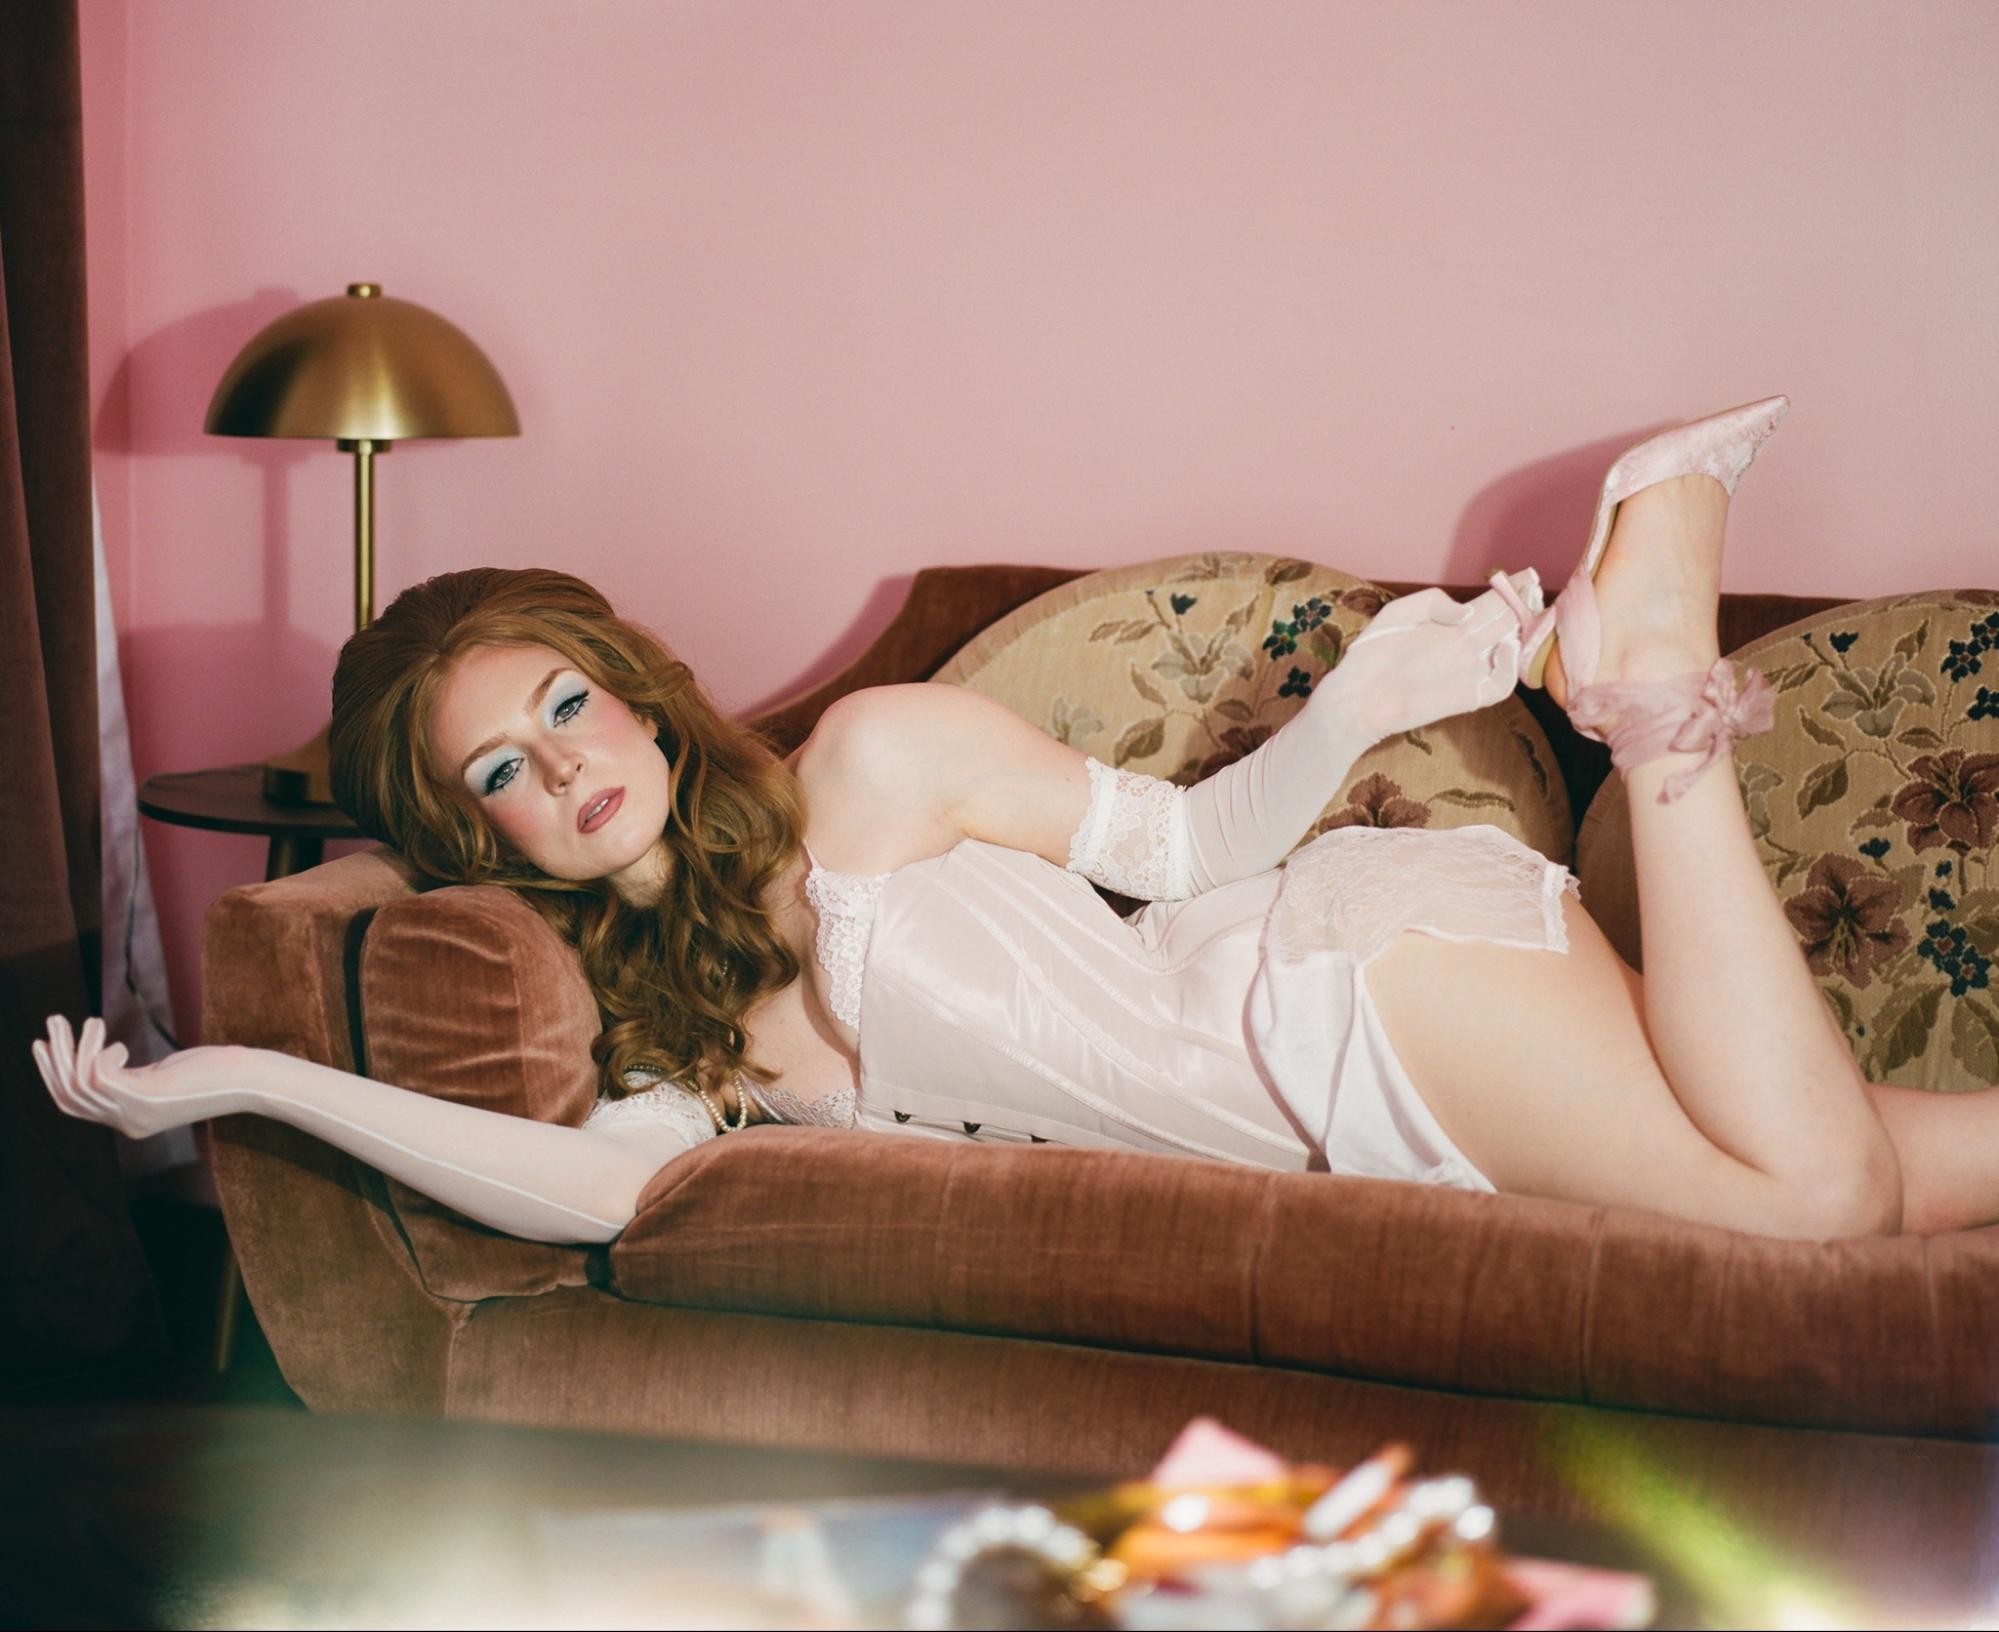
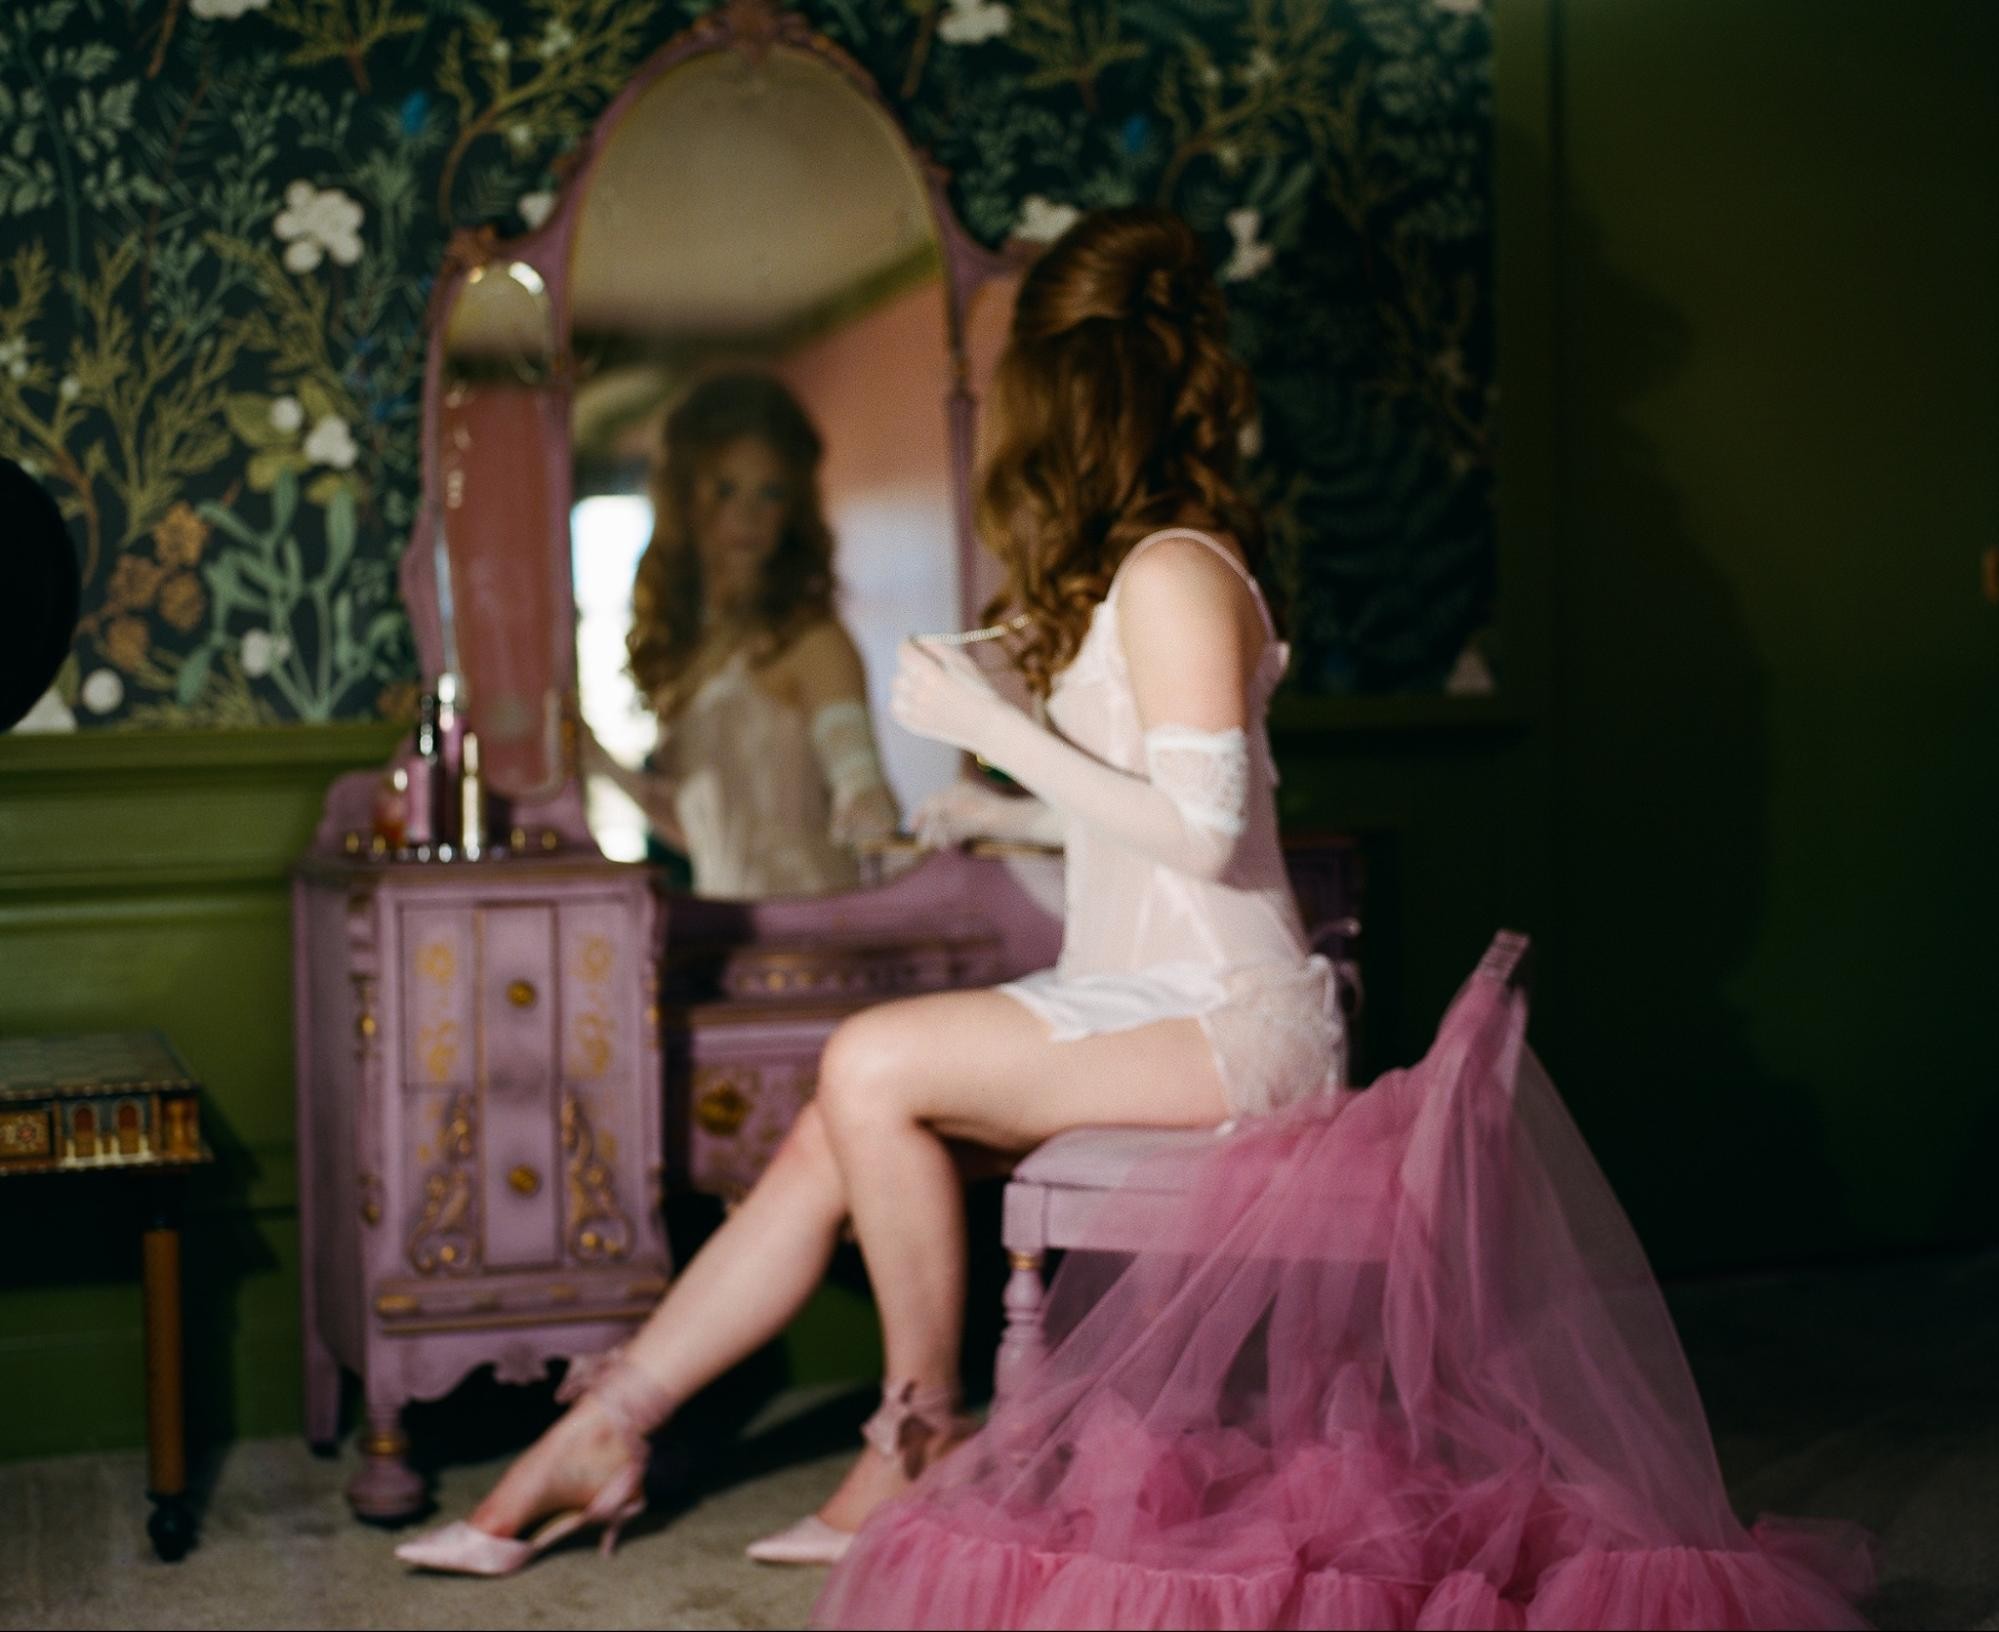
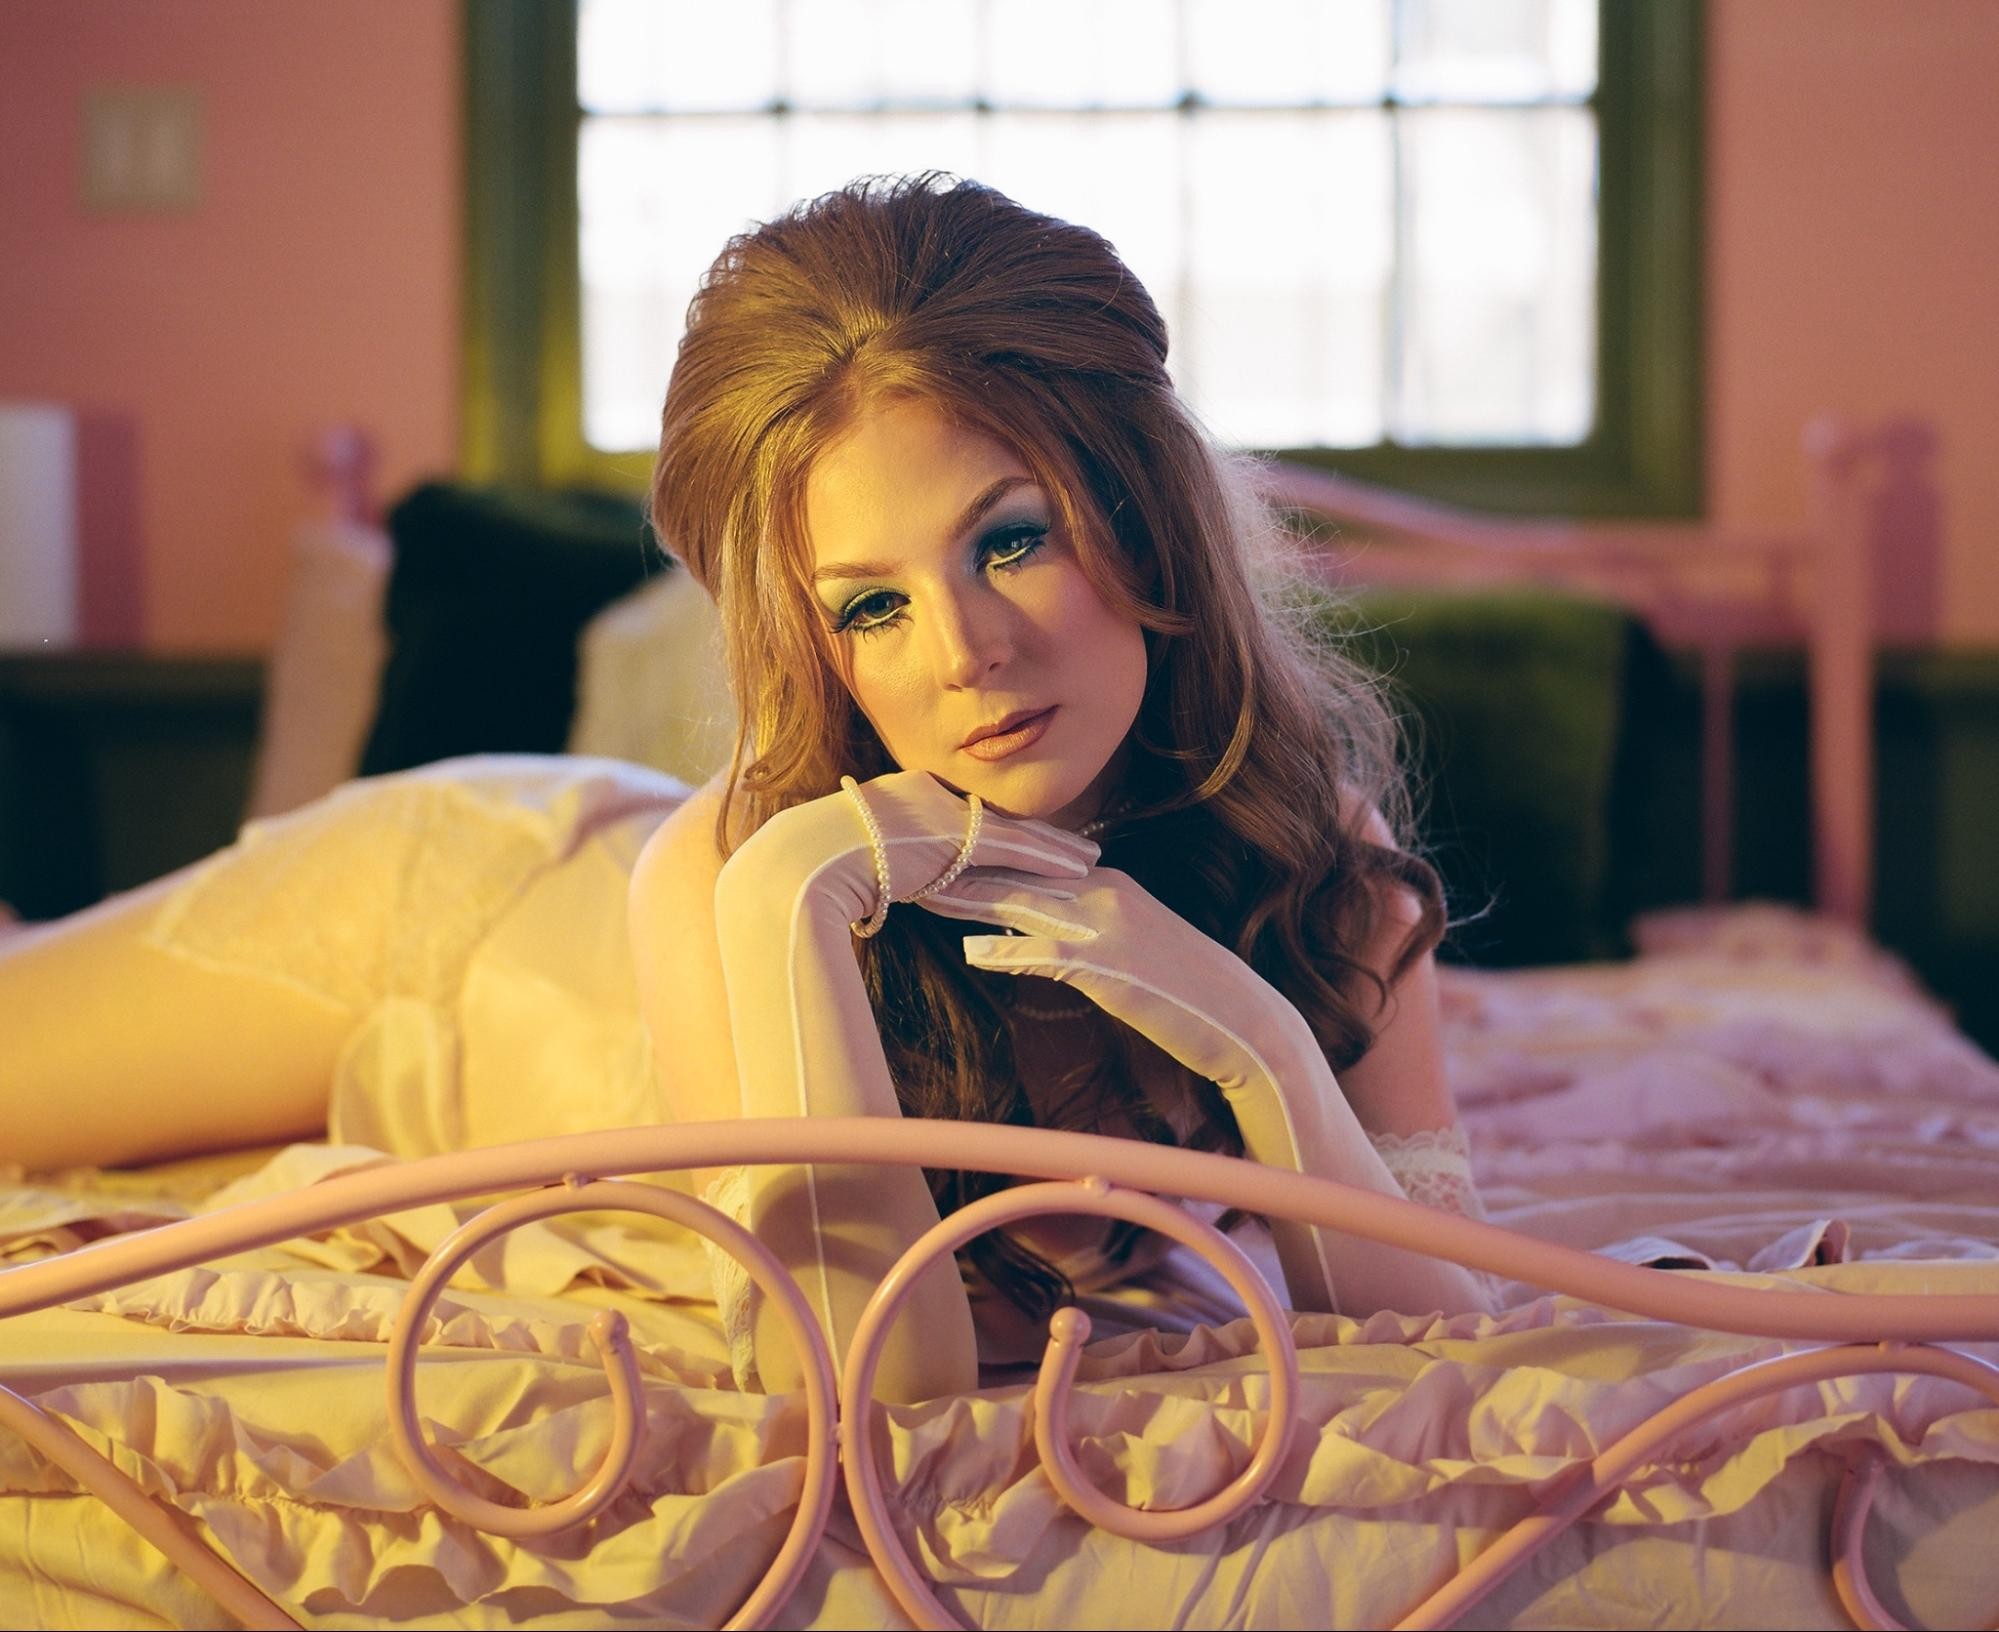
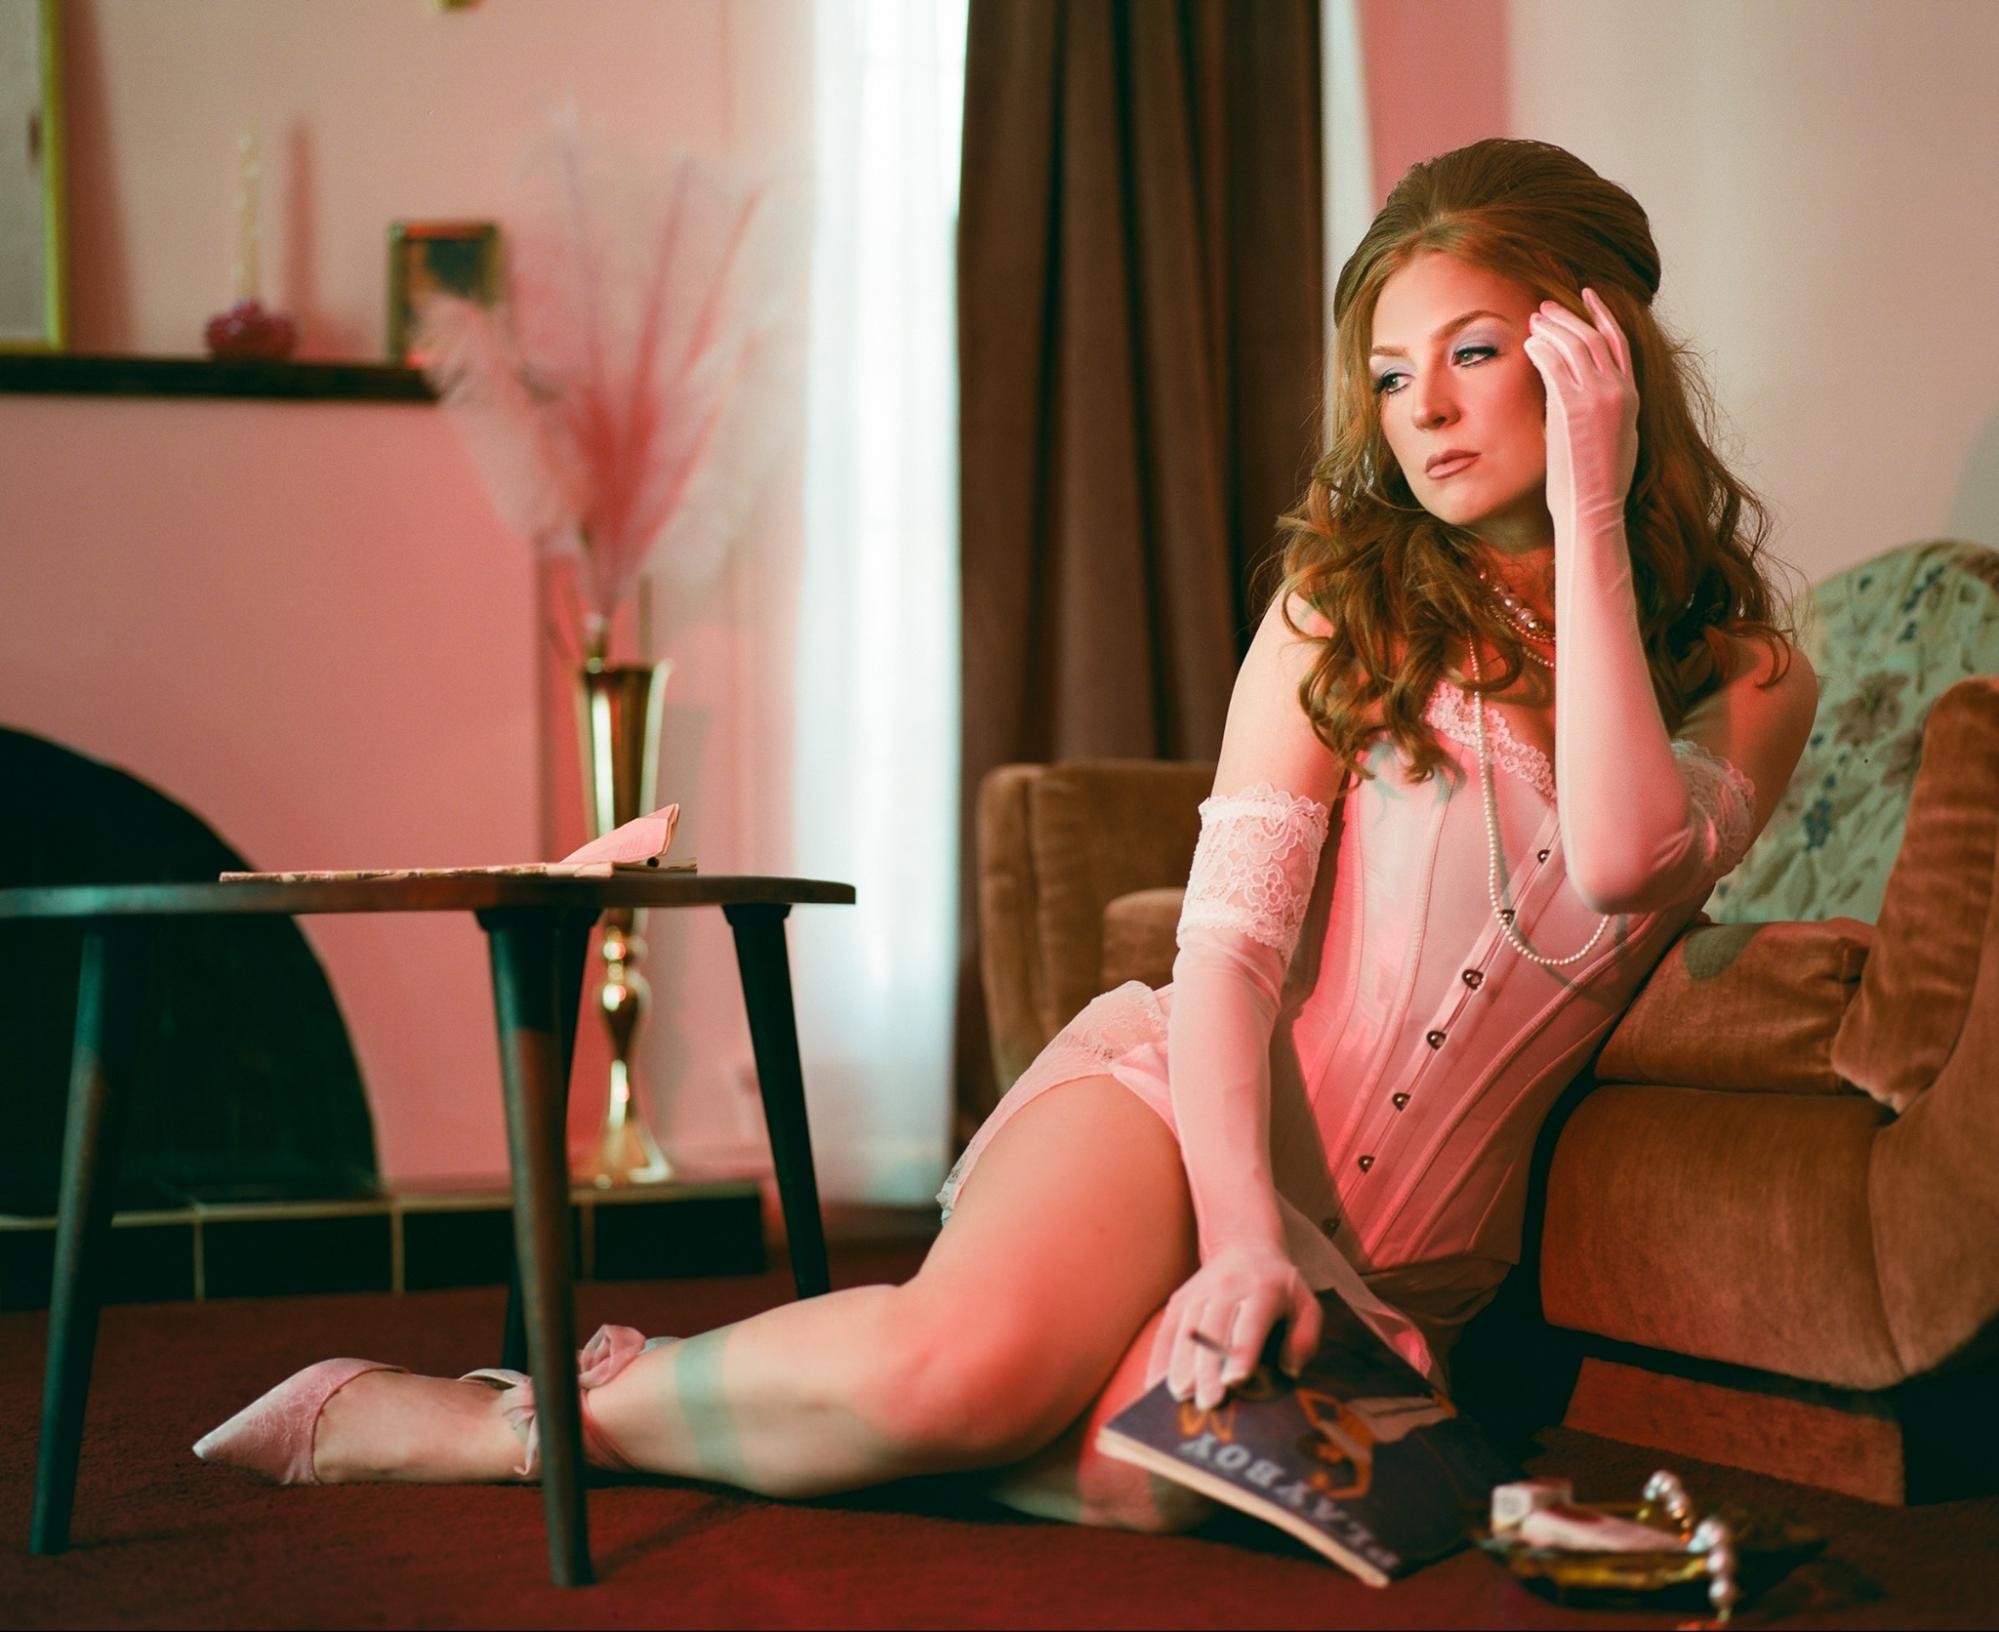
The images came back beautiful, with gorgeous colors and all.
See below for proof.
I will say that I could use a little more practice with focusing, but I think I’m off to a good start. Having made a deal with myself that this would not become a stressful venture, I’m genuinely excited to keep shooting with this camera and tackle a new challenge each time I use it.
I hope this was insightful and inspires you to take a chance on film. But be kind to yourself.
What’s the worst that can happen?


⟵ back to all galleries
Let's Chat
1
Velvet Alchemy is a forward-thinking photography experience that blends artistry with intention to capture your story in its most magnetic form. I focus on more than documenting moments — I transform them into something evocative, expressive, and unforgettable.
Ready to leave an imprint?
Join the Velvet Alchemy Community

Start Dreaming Here

Fine Art Prints by Velvet Alchemy
PRINT SHOP

Carefully printed and curated to bring your images off the screen and into your space — exactly as they were meant to be seen.
Las Vegas Elopement Tips, Featured on Adorama
FEATURED IN

On film, Super 8 & digital

featured resources
featured resources
